Use this guide to replace the mouse cable in your Logitech G502 Hero wired gaming mouse.
If you're experiencing intermittent or no connectivity, inconsistent movement, or a loose cable connection, it may be time to replace the cable in your mouse.
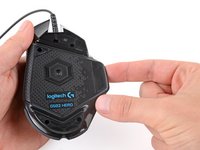
Before starting your repair, unplug the mouse.
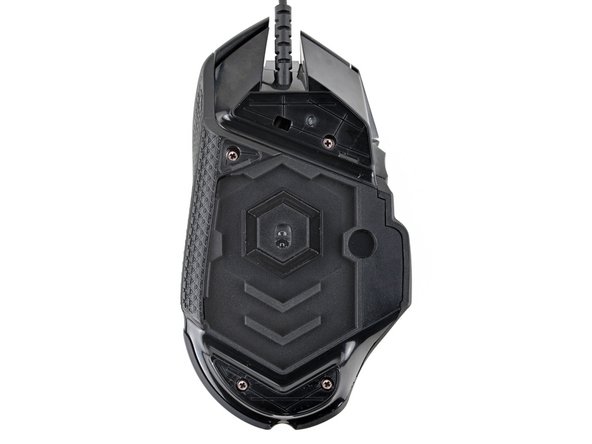
Throughout your repair, it may be helpful to lay your mouse on a soft cloth to stabilize it and prevent damage while you work.
The feet are secured to the bottom of the mouse with adhesive. In order to cleanly remove them, the adhesive needs to be thoroughly heated.
Heat an iOpener and lay it on the mouse feet for one minute to heat the adhesive.
Alternatively, you can use a hair dryer on the Low heat setting to soften the adhesive.
If you're using a hair dryer, only heat the feet a few seconds at a time or you may warp the plastic shell.
The feet have two layers—a rubberized one and an adhesive pad underneath.
If you're reusing the feet, be very careful not to separate the two layers or damage the feet.
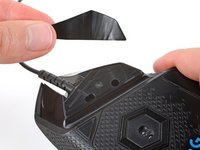
Carefully slide the point of a spudger under the large foot near the front of the mouse, making sure it goes under both the foot and
The foot recesses have a small notch that makes it easier to slide your spudger under.
Gently slide the spudger farther under the foot and lift until you can grip the pad with your fingers.
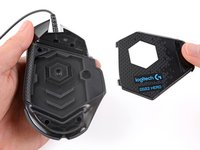
Peel up and remove the foot.
If the rubber layer separates from its adhesive pad, use the same process to remove the pad.
To install a new foot:
If any of the feet got damaged during removal or separated from their adhesive pads, replace them.
Use a spudger to carefully scrape up and remove any remaining adhesive bits.
Use isopropyl alcohol and a microfiber cloth to thoroughly clean all adhesive residue from the foot recesses. Allow the surface to completely dry.
Remove the feet from their backing and firmly press them into place.
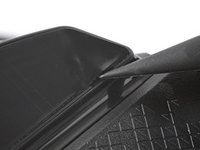
Tight plastic clips secure the top and bottom shells. During the next few steps you should feel and hear "clicks" as the clips release.
Insert the flat end of a spudger between the top and bottom shells, near the back of the mouse.
Twist the spudger to unclip the shells.
Insert the flat end of a spudger between the textured edge of the top and bottom shells, near the back of the mouse.
Slide the spudger towards the front of the mouse and intermittently twist, stopping near the screw hole.
Leave the spudger inserted for the next step.
Insert the flat end of a spudger between the top and bottom shells, near the back of the mouse.
Slide the spudger towards the thumb rest and push in to unclip the shells.
Insert the flat end of a spudger between the top and bottom shells, near the G8 and DPI shift (⊕ ) buttons at the front of the mouse.
Pry up with the spudger and push the shells apart to unclip them.
Unclipping this part of the mouse is tricky and may take a few tries. Be patient and don't pry too hard, or you may break one of the clips.
At this point, the shells should be fully separated. If they're not, repeat the previous unclipping steps with your spudger.
Lift the top shell straight up and remove it, making sure the main mouse cable stays attached to the bottom shell.
During reassembly, put the top shell back in place and work your way around the perimeter firmly squeezing the shells together to reengage the clips.
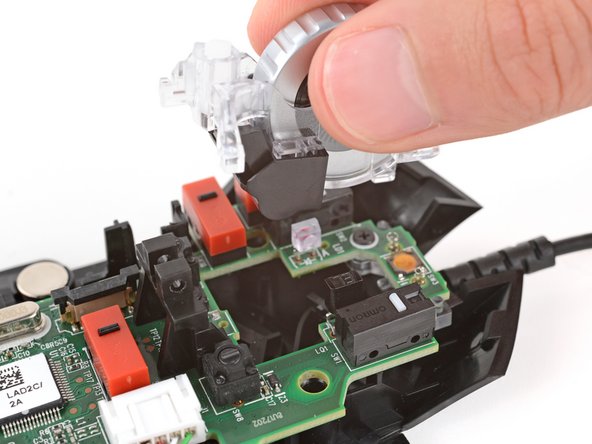
You don't need to remove the side buttons board to access the scroll wheel, but it makes it easier.
Gently lift the side buttons board straight up and out of its slot.
Don't try to fully remove the board yet, as it's still connected by a cable.
Hold the button board out of the way so you can access its connector on the motherboard.
Use the point of a spudger to push up on alternating sides of the connector's plastic latch until it's in the unlocked position.
You should feel the latch pop up into the unlocked position. Don't push too far, or the latch may come completely off the connector.
Gently pull the board straight up so the cable comes out of its socket.
The cable should come out easily. If you feel any resistance, push the latch up a little more and try again.
During reassembly:
Insert the cable into its socket so the blue tab is on the same side as the connector's latch.
Use the flat end of a spudger to push the latch straight down into its locked position.
Use the point of a spudger to push out and remove the locking pin from the plastic scroll wheel support in the center of the motherboard.
During reassembly, insert the locking pin so the curved end is facing down .
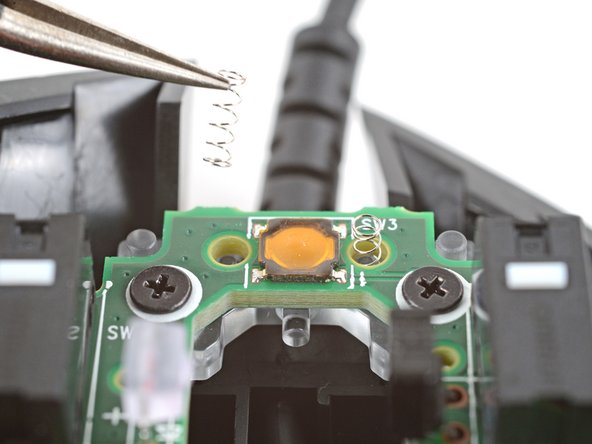
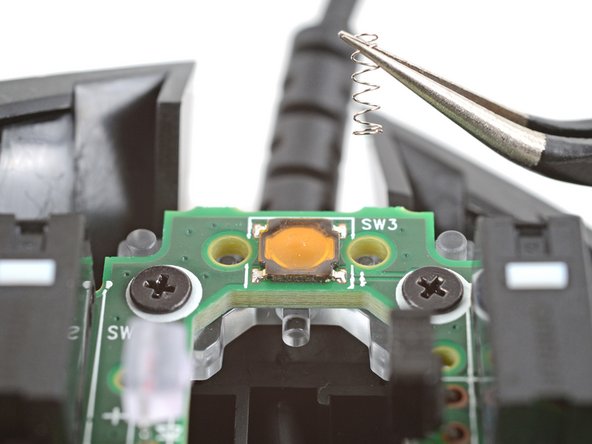
Use a pair of tweezers to carefully remove the two small springs near the front of the mouse.
Be careful, these springs can pop out very easily!
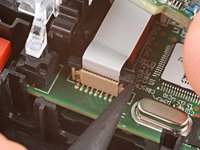
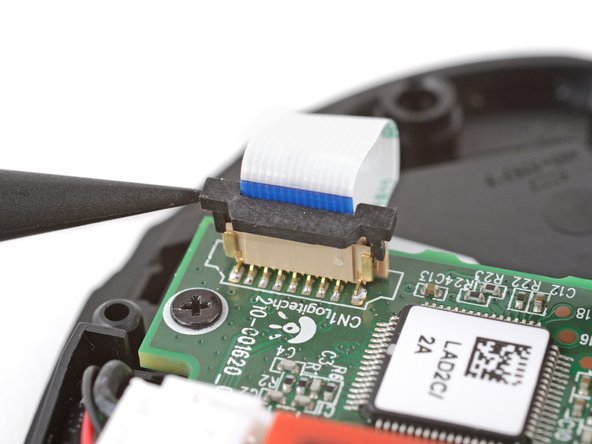
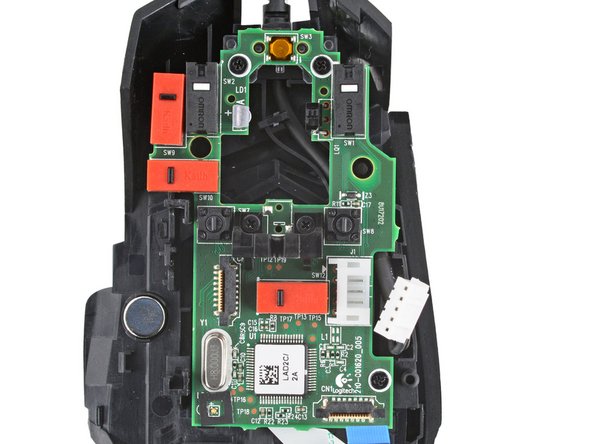
Use the point of a spudger to push up on alternating sides of the plastic latch on the connector near the bottom corner of the motherboard.
You should feel the latch pop up into the unlocked position. Don't push too far, or the latch may come completely off the connector.
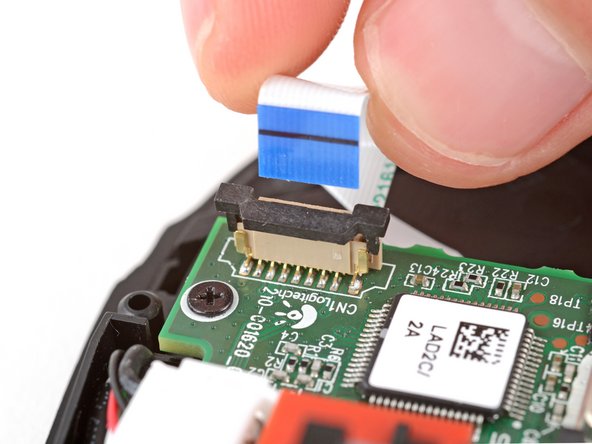
Pull the cable straight up and out of its socket.
The cable should come out easily. If you feel any resistance, push the latch up a little more and try again.
During reassembly, insert the cable into its socket and use the flat end of a spudger to push the latch down into its locked position.
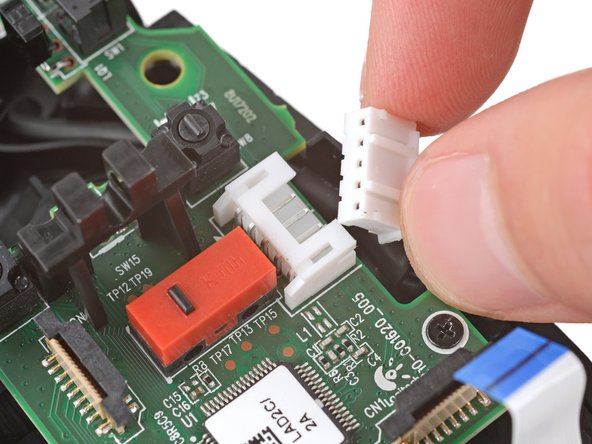
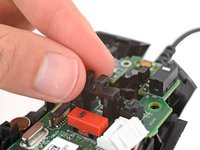
Insert each arm of a pair of angled tweezers into the cutouts on the outer edges of the mouse cable connector, located near the edge of the motherboard.
Use the tweezers to gently push the connector completely out of its socket.
During reassembly, push on the edges of the connector with the flat end of a spudger until the connector slides fully into its socket.
Lift the motherboard straight up and remove it.
During reassembly, use the screw holes and their corresponding posts to align the board.
Remove the clear plastic cable bracket from the front of the mouse.
During reassembly, put the bracket back onto its posts so the small nubs are on top and the flat edge is near the front of the mouse.
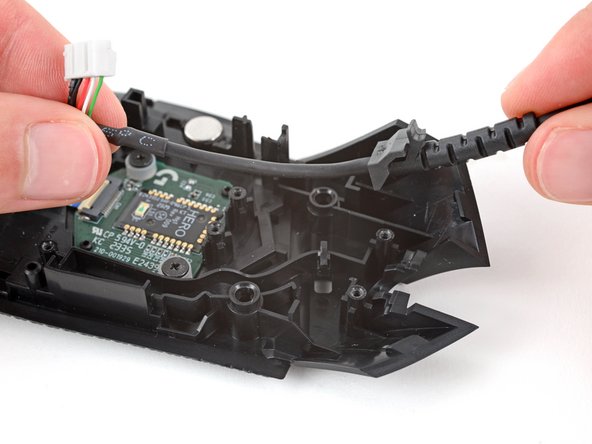
Lift the cable up and out of its groove in the bottom shell.
During reassembly, route the cable into its groove and press the rubber gasket fully into its recess near the front of the mouse —you should feel it slide back into place.
Embed this guide
Choose a size and copy the code below to embed this guide as a small widget on your site / forum.
Single Step
Full Guide
Small - 600px
Medium - 800px
Large - 1200px
Preview