

This post is the last of a five part series on microsoldering. If you haven’t yet, you probably want to check out part 1, part 2, part 3, and part 4 first.
Microsoldering is high-value repair: You can fix stuff that manufacturers won’t (like water damage and pry damage), which can save you a boatload of money. So I signed up for Jessa Jones’ Practical Board Repair School. But I can’t keep such important knowledge to myself! If you joined me for Day One and Day Two of microsoldering school, you know I learned that schematics are vital for diagnosing problems and a multimeter is invaluable for locating faulty components. On Day Three I learned how to remove, reball, and replace integrated circuits (ICs) and on Day Four I learned how to split a logic board and reball the interposer in preparation for reassembly.
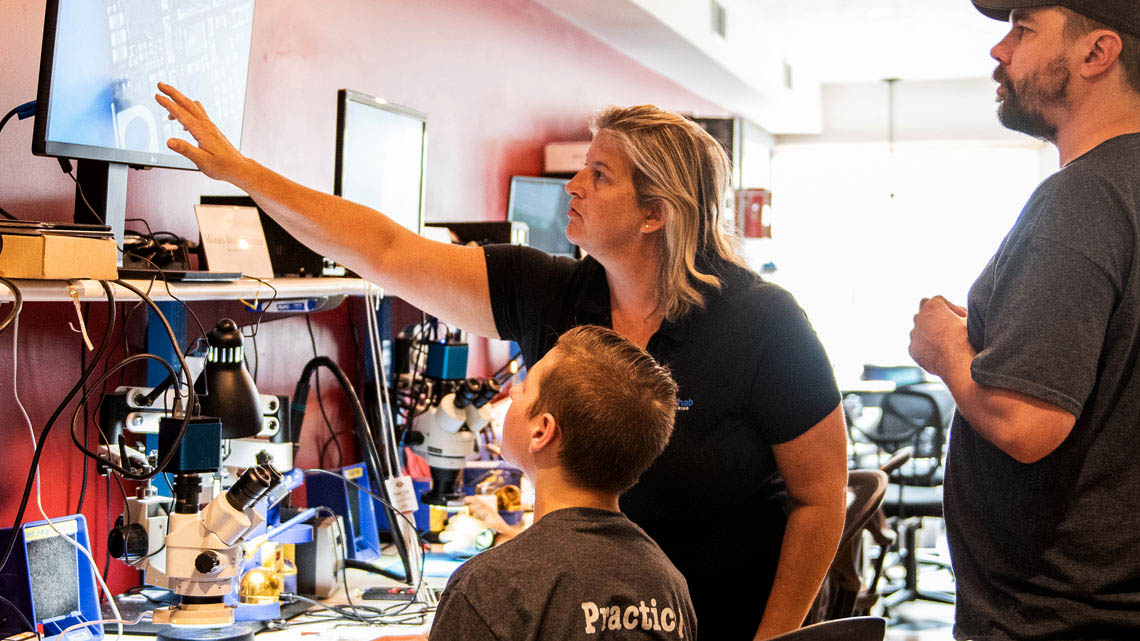
Our final day was our chance to get advice on how to fix the electronics that we’d brought from home. This was an opportunity to put everything we’d learned during the past four days into practice, with expert help and guidance if needed. As the students worked on their personal projects, I saw one stubbornly broken device after another be revived and put back into service. It was eye opening, these were devices brought in by professional technicians with years of industry experience, devices that had sat unfixed for weeks, months, or in my case years. Over the course of a few hours and without exception, each one sputtered to life. It felt like the word “broken” had lost any meaning.
My own project was a Framework 13 mainboard which had not-so-mysteriously stopped working. I had a strong inkling as to what the problem was. Just over a year ago I’d made the mistake of fishing out an unclaimed 140W power brick from our ever growing teardown pile of wallwarts and used it to power my laptop. It worked fine for about three minutes, then the laptop just died. And so that mainboard had found its way to Jessa’s workshop, patiently waiting for its turn to be triaged.
The first step in any repair is to diagnose the problem so I set about running through the list of software and hardware issues that might be considered easy fixes.
The software was easy, it doesn’t boot up so there’s nothing I could check.
On the hardware side, about the only thing that we could test without swapping IC’s was the power supply and the batteries.
Framework 13 mainboards have a switch near the top right of the board that needs to be depressed before power can be delivered to the rest of the system. This is a safety feature designed to prevent damage to the device when the user opens up the case to replace a battery or change something out. I checked the switch for continuity and sure enough, it’s working as intended. Taping down the switch allowed me to perform further tests.
We can rule out any issues with the battery, these boards are designed to boot without one. I also tried switching out the CMOS battery to see if that would do anything, but since the system refuses to boot altogether it was unlikely that incorrect BIOS settings were the culprit.
The next step was to check power delivery using a known good power supply.
- Does the device power on? No.
- Will the device charge via one of the four USB-C ports? No.
- What about the other three USB-C ports?
- Nothing on the right hand side
- Powering the USB-C ports on the left side of the device causes the LED status light to run through a set of threatening red flashes.
How interesting. It would appear that one side of this board is dead, and the other is unhappy about it. If our working theory is that the failure had something to do with the wall wart, it makes sense for only one side of the board to be unresponsive.
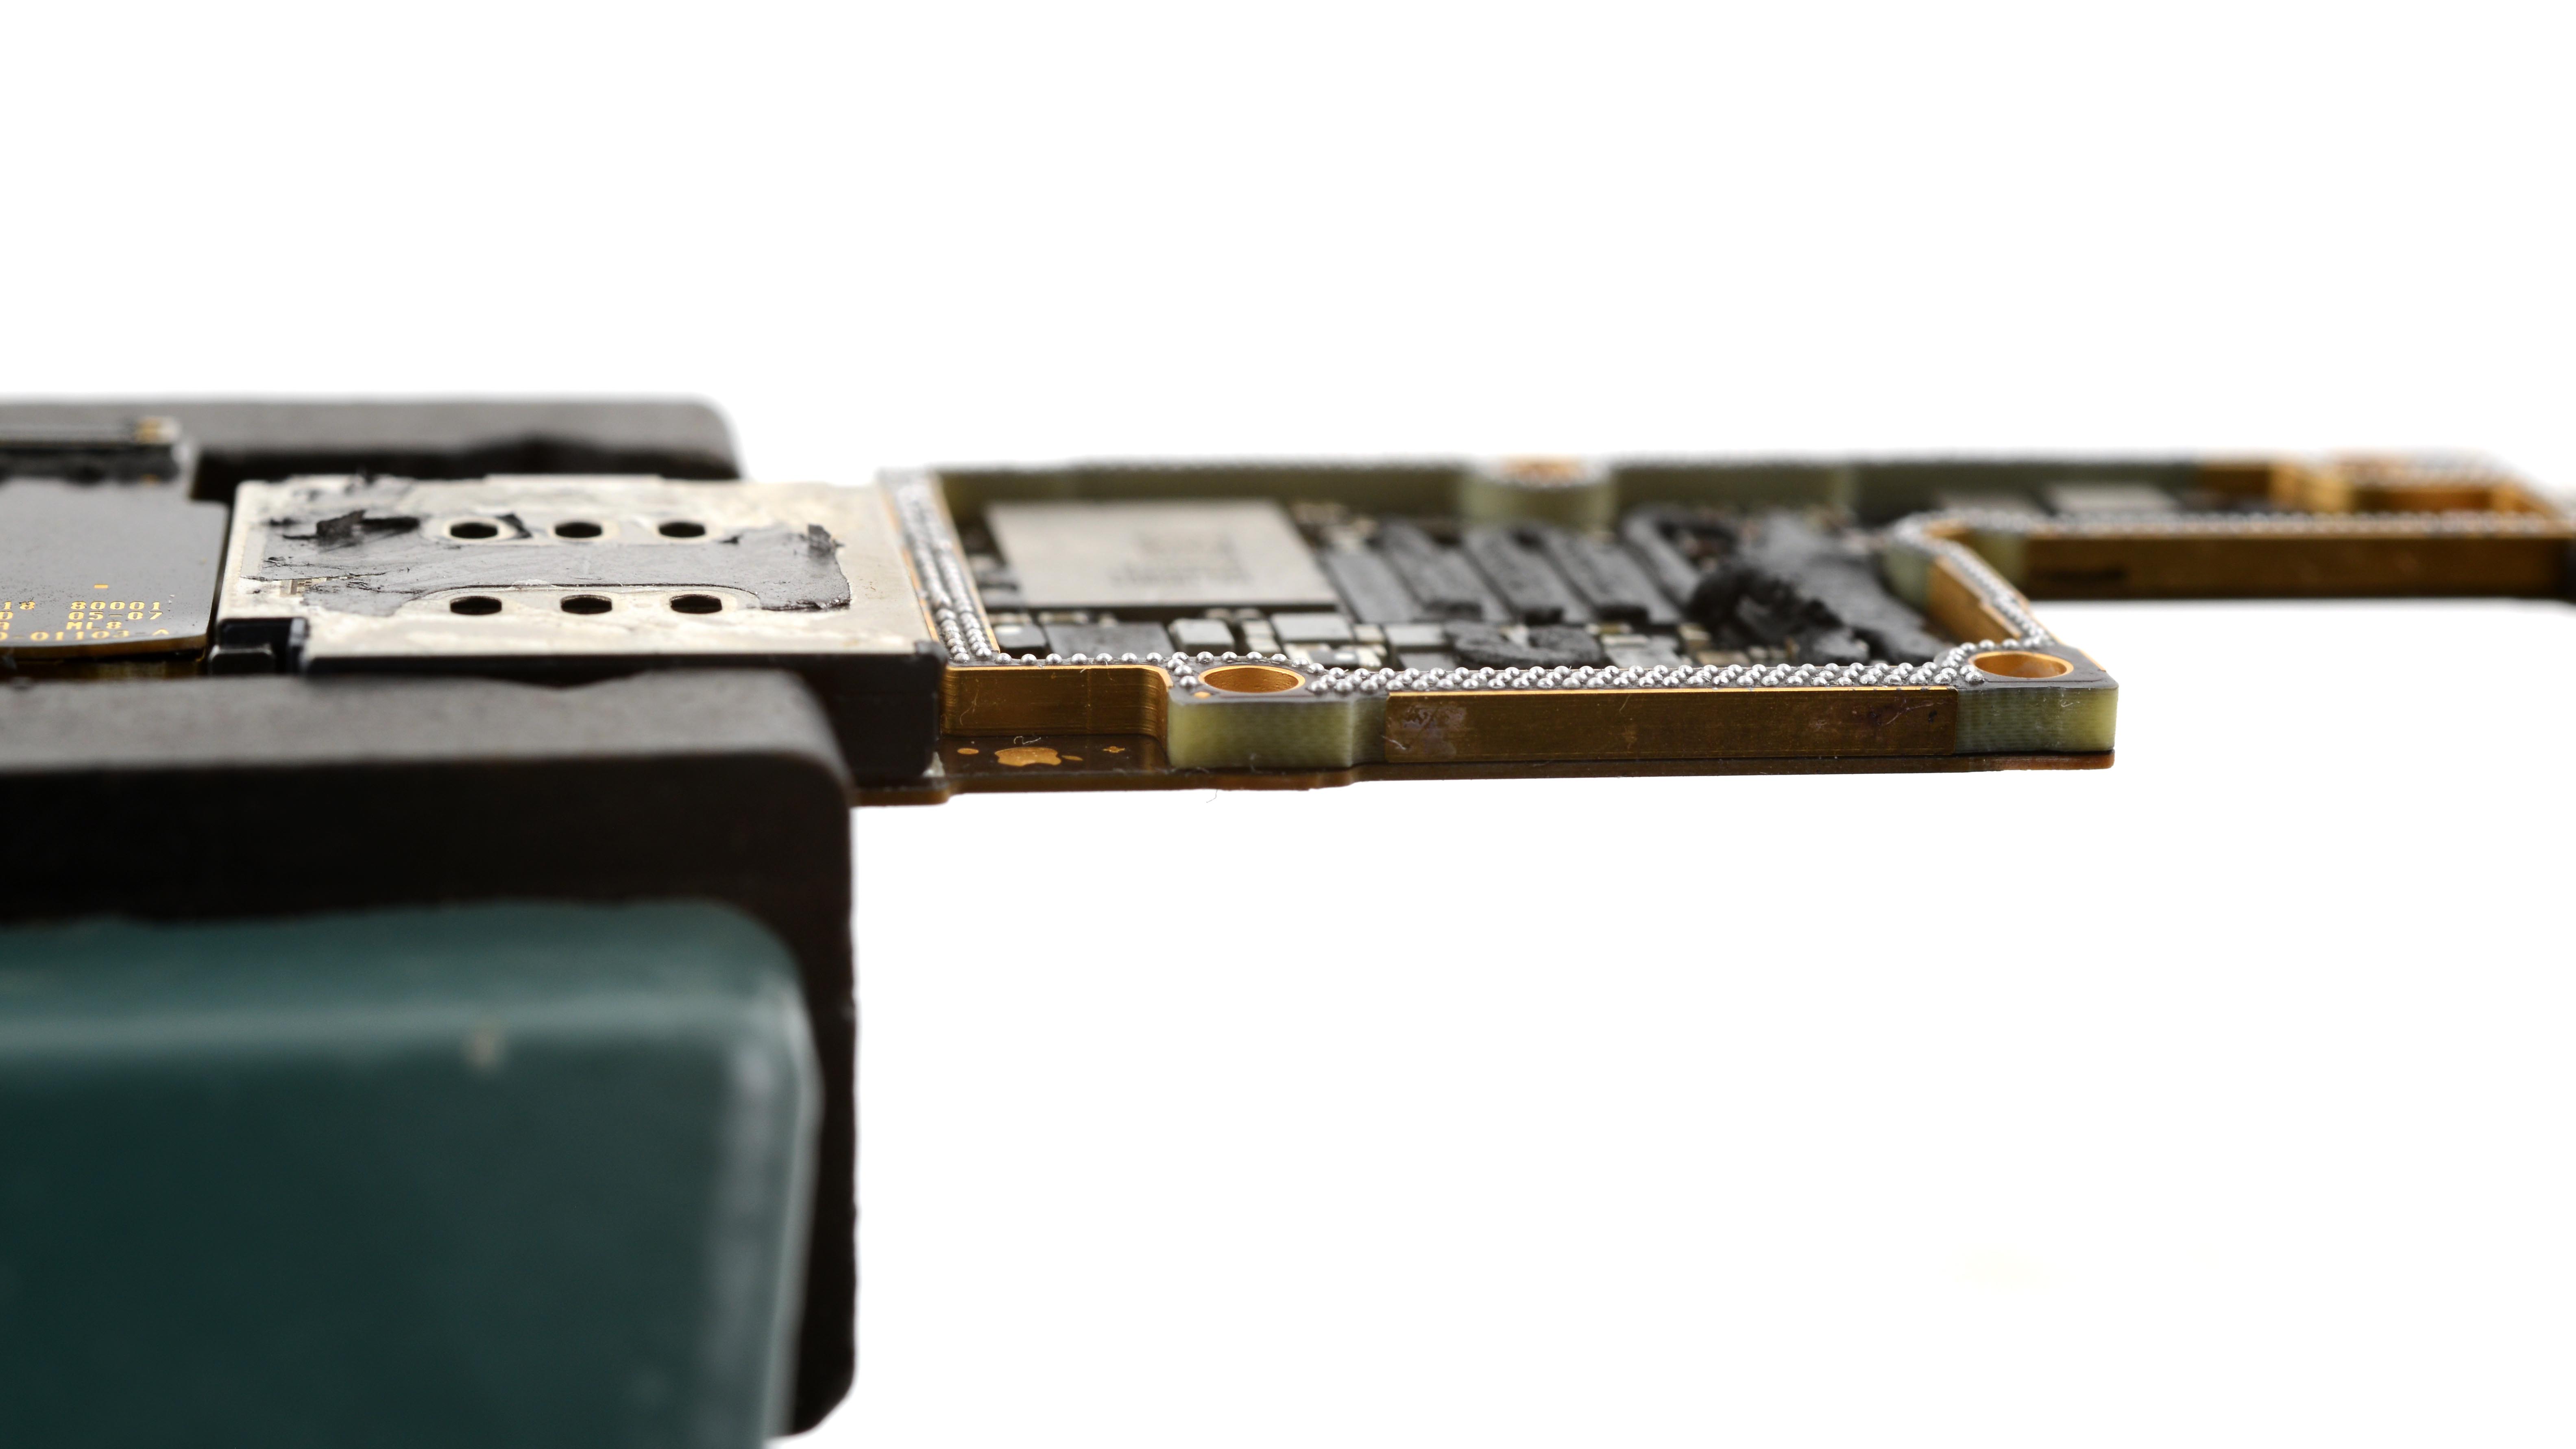
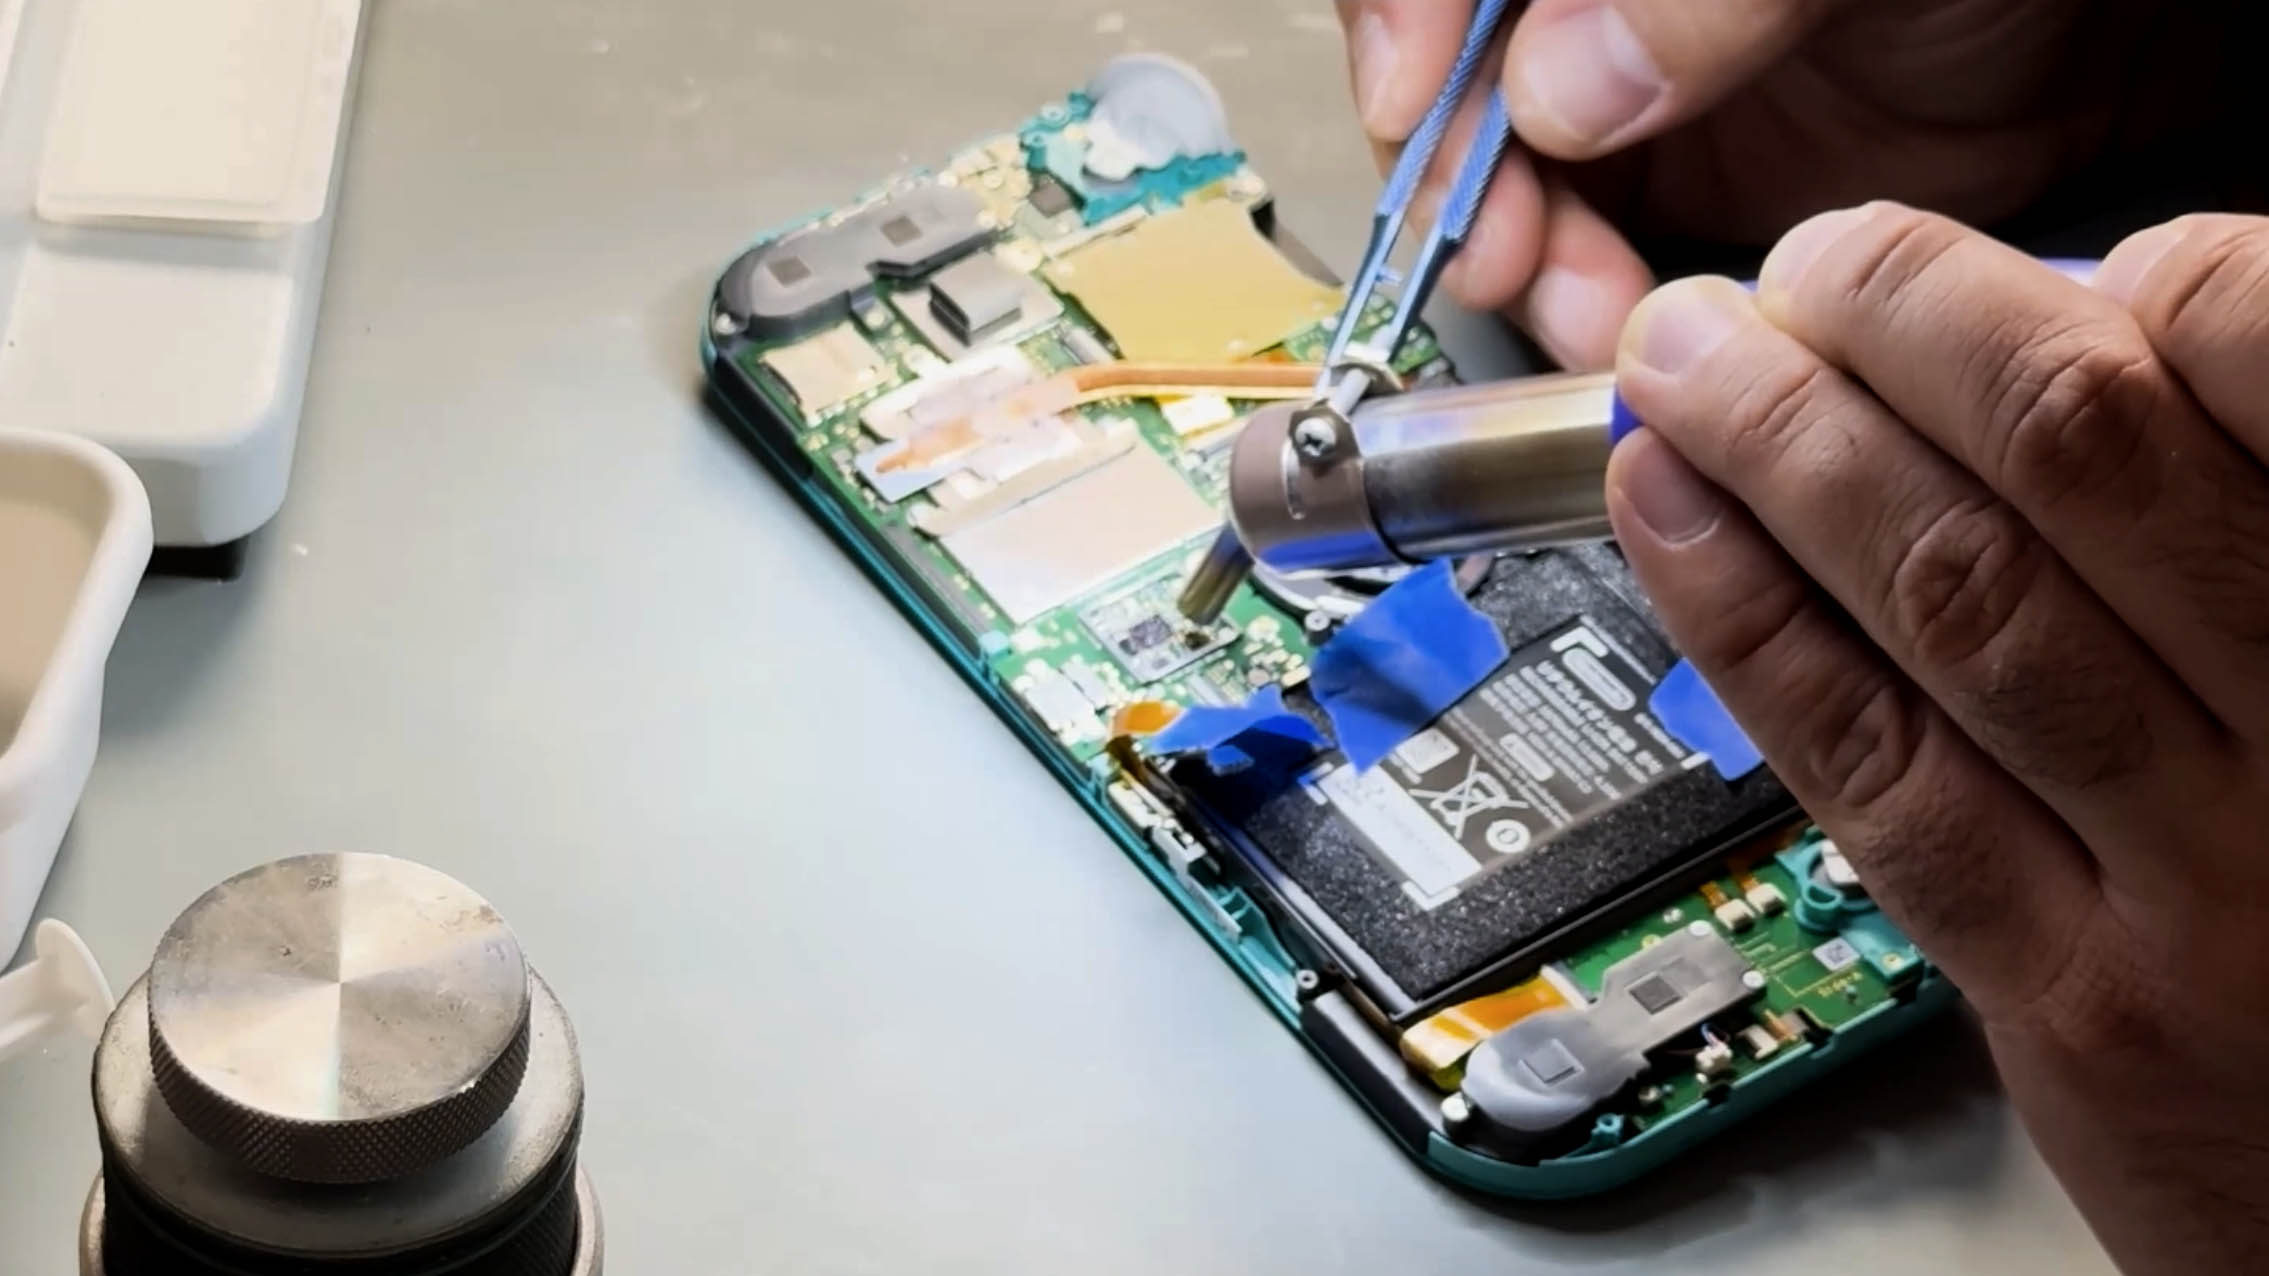
The next easiest fix would be a short circuit, something we learned about on Day Two. Powering the mainboard from a mains supply and placing it under an IR camera revealed two spots were getting toasty. So, power was being delivered to a certain point, but not far enough for anything to “boot”.
We had found a short—in two places! It turned out that both the USB-C controller and charge controller on the board had been fried. While I didn’t have the components I needed to replace those IC’s, I did learn where the problem was located. That’s 90% of the battle, swapping the IC’s out is just a matter of patience and practice.
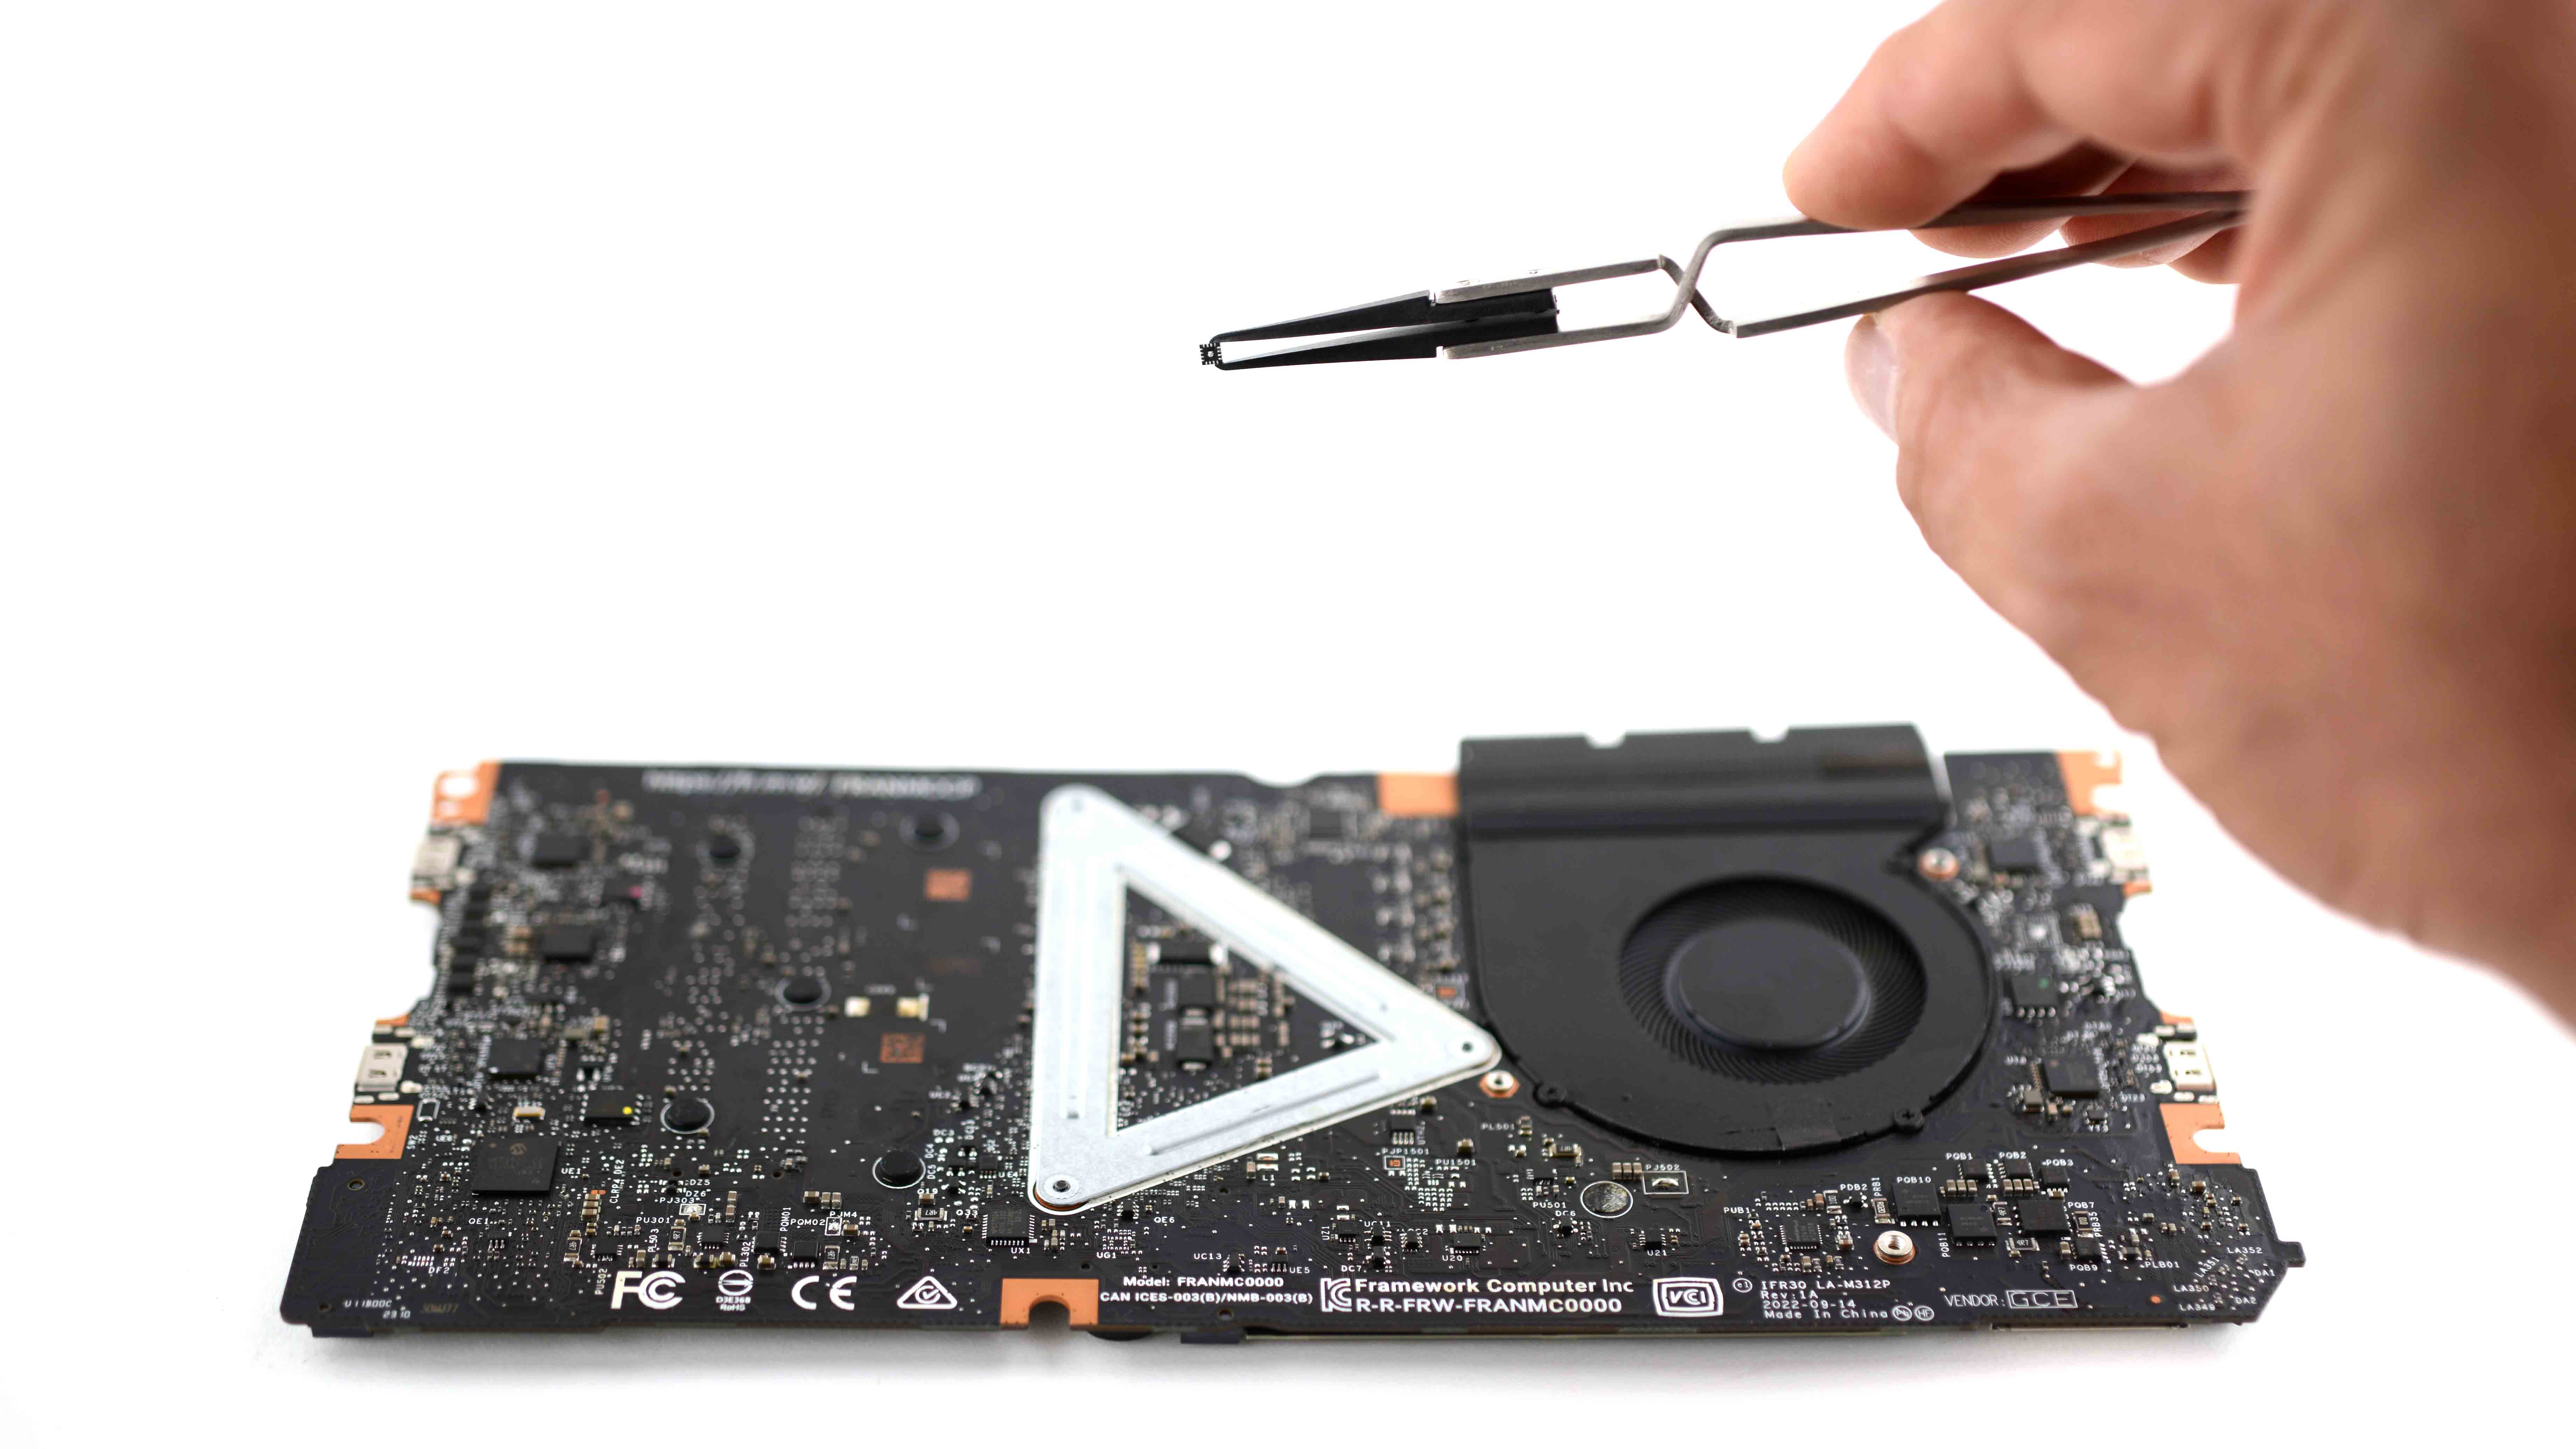
My Framework 13 will now live to see another day as soon as I source the parts for it. In the meantime, another repair (one of dozens) waits for me at home.
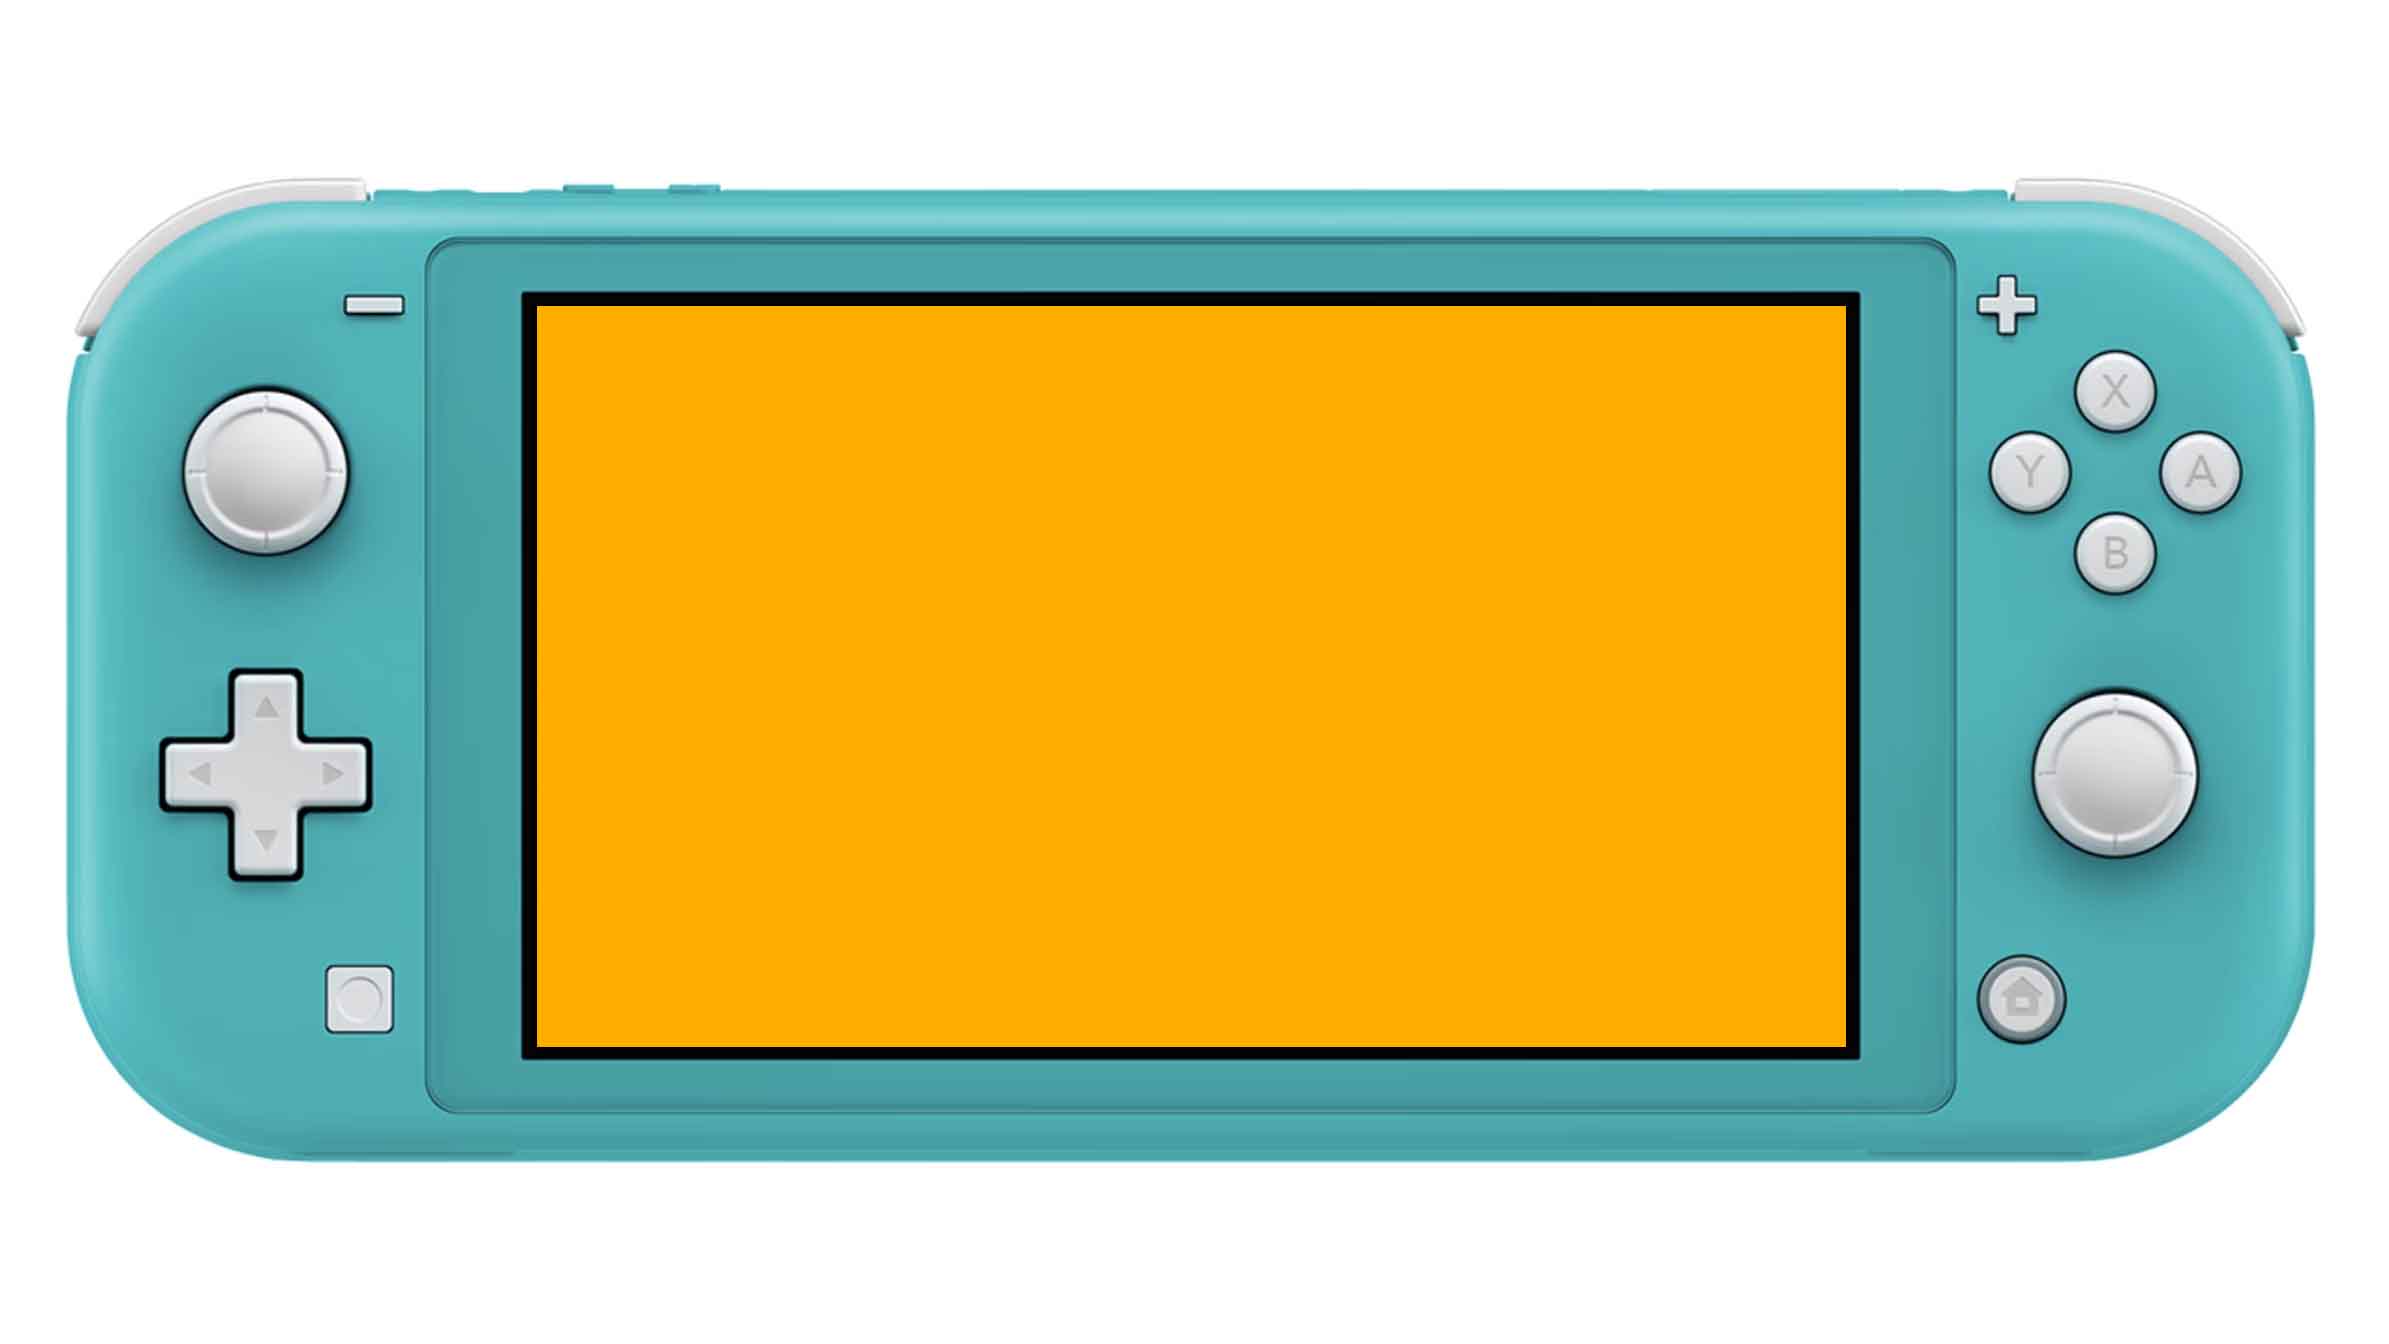
A while back I borrowed my son’s Nintendo Switch Lite to play Legend of Zelda: Breath of the Wild. It had been years since I played a Zelda game and I was excited to give it a whirl. Maybe a little too excited. In the process of removing the Switch from its case, my fingers decided to momentarily take on the consistency of jelly—long enough for the Switch to slip out of my hand and hit the carpeted floor.
I picked it up and my heart stopped. The colourful pixels of the user interface adorning the white background had been replaced by solid orange across the entire screen. What ran through my mind was “My son is going to kill me” while my clumsy hands scrambled to troubleshoot the problem. To my relief, a reboot “fixed” the issue, or so I thought. Over the following weeks, my son noticed that the Switch would no longer connect to wireless networks.
A little digging on reddit and other online forums revealed this to be a known issue. It even had a name—the Orange Screen of Death (OSOD). Very ominous! At that time, I felt powerless to do anything about it. That was then, today’s me laughs in the face of (Orange Screen of) death.
I admit, I’d grown a little flippant with my newly acquired knowledge. I didn’t even bother removing the Switch’s mainboard from the body of the device for this repair. That could have led to more issues were I to accidentally melt some plastic connector or a delicate flex cable.
But I knew where the problem was, the wireless IC was known to be the cause of the OSOD. It was either damaged or the impact from that fall had cracked some solder joints. If I was lucky, it would be the latter and I could reflow those BGA solder points and reconnect the chip.
After applying some solder paste, I set my reflow station to 350°C and heated that section of the board for just over a minute. The flux bubbled, and I gingerly poked at the edge of the IC to see if it would wiggle—a sign that all the solder balls underneath had liquified and thus hopefully reconnected the pads to the IC.
I had done all I could, it was time to reconnect some cables and the battery and boot the Switch to see if the repair worked. It booted! That was an encouraging sign that I had at least not caused any new damage to the board.
I held my breath as I navigated to “Network Settings” to see if the Switch could see the nearby wireless AP’s. This was a big moment for me, I’d performed what I considered an advanced repair without supervision—and possibly I had completed the task successfully. No error 2110-1118 this time, the AP’s were populating, and I was able to connect to Nintendo’s servers and run a device update. I had stared orange death in the face and I had prevailed. What a rush!
Trying something for the first time will always give you the impression that this is a “high difficulty” or “advanced” task, but the truth is this reflow was relatively simple and straightforward. There’s much more to learn, and some truly advanced repairs to perform but as with any skill, mastery takes time and I can’t think of a better place to invest that time.
It’s empowering to know that you can probably fix an advanced piece of electronics, be it a MacBook logic board or the mainboard out of a wind turbine. The principles of the work are the same and that really opens up a world of repair possibilities.
This isn’t the end of my microsoldering repair journey but rather the very beginning. Retaining and perfecting what I’ve learned will require hours of practice. Expanding my horizons towards other forms of repair, like SoC and CPU replacement, will require many more hours of study and practice. The journey begins with the first step.
The skillset I’ve acquired at this point has already brought a level of empowerment and self-sufficiency to my tech reliant lifestyle. And with that level of competence, I know I’m doing a lot of good by keeping these devices running for a while longer and out of the waste stream.
0 Comments